Comprehensive Guide on 3D Rendering Techniques and Tips for Experts
3D rendering techniques have advanced exponentially within recent years. The challenges formerly posed by speed and realism in rendering software are fading and the benefits are now undeniable.
Table of contents
Let’s check the main 3D rendering techniques and tips that streamline the entire process and yield excellent final results.
Major 3D Rendering Techniques for a Professional Looking Design
Having to present signage design within a timeframe only to have it get held back by rendering speed can be constraining if not frustrating. Whether it’s for trade show displays or in-house branding, we’ll elaborate on different techniques for achieving more efficient results to help you avoid this setback.
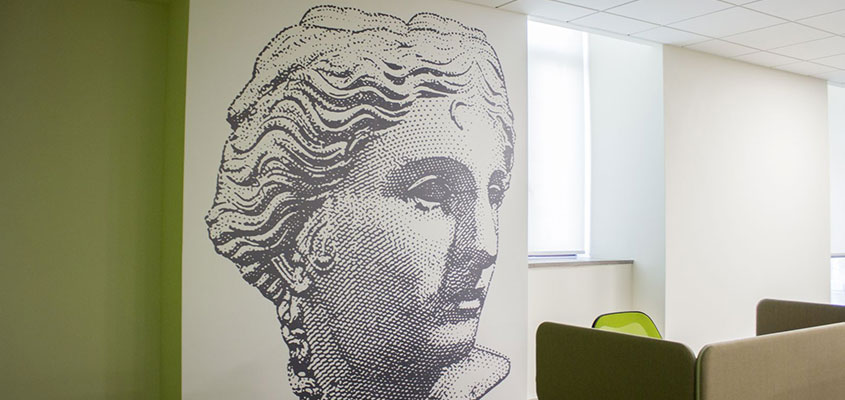
Below, you can find a list of the best rendering techniques that will make your rendering journey a lot smoother.
Technique 1. Scanline
Definition:
Scanline is a real-time rendering technique that uses a polygon by polygon option instead of a pixel by pixel one. This enables the user to achieve renderings at 60 fps (frames per second) using pre-calculated lighting.
Speed is scanline’s big advantage compared to different rendering techniques.
Pros:
- Most time-saving
- Lowest storage requirement
- Draws visible pixels
- Standard rendering software
Cons:
- Complex algorithms
Technique 2. Ray Tracing
Definition:
As the name suggests, ray tracing is a technique that tracks the exact number of ‘bounces’ of light off the product on a three-dimensional scale. It’s done either by reflection or refraction.
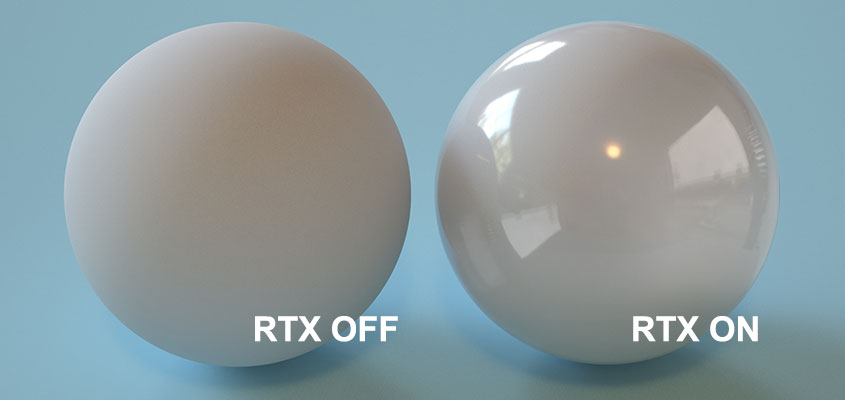
This is one of the most accurate types of rendering techniques.
Pros:
- Most photorealistic images
- Easy application of reflections, refractions and shadows
- Easily achieved edges and depth of field
- Disk storage capabilities
Cons:
- Complex computational requirements
- Generates models at a slower speed
- More advanced lighting effects available
Technique 3. Ray Casting
Definition:
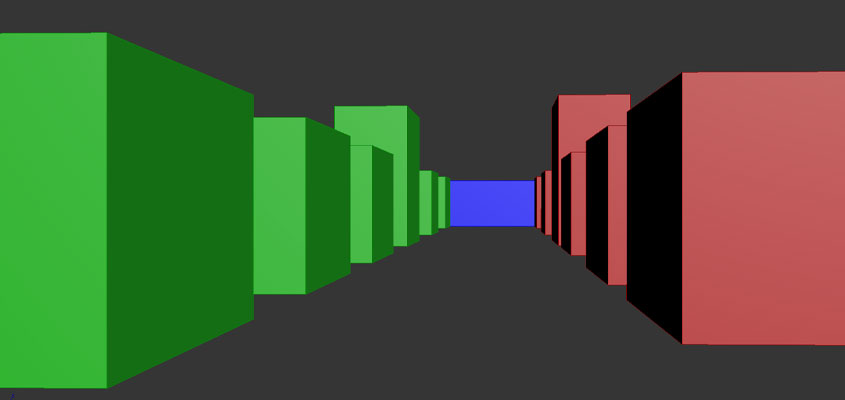
Ray casting is a 3D rendering technique that sends the rays cast from one angle to another. Rays cross an object and using its color and brightness, define how many pixels the image should contain in the final image.
Pros:
- Processes non-planar surfaces and solids
- Fast operating software/technique
Cons:
- Able to render only simple shapes
- Representational rather than realistic images
Technique 4. Radiosity
Definition:
This is a modern rendering technique operating based on inter-reflection, or the reflection of light between objects.
The algorithm of radiosity finds and breaks down the surfaces in question into smaller elements as a first step. Then, it computes the diffused energy that radiates off each surface, calculates the surfaces with the higher amounts of energy and finally restores them.
Pros:
- Further improvements to image-precision
- Monitors radiant energies on each surface
- Maintains a balance of light energy
- Records inter-reflection, walkthroughs and color bleeding
Cons:
- Difficult to render specular objects and mirrors
Technique 5. Z-Buffer
Definition:
The Z-buffer is a graphics rendering technique that utilizes the simplest algorithms employed in the arsenal of how to make 3D visualization. It determines visible surfaces (or a part of them) based on a 2D-data structure.
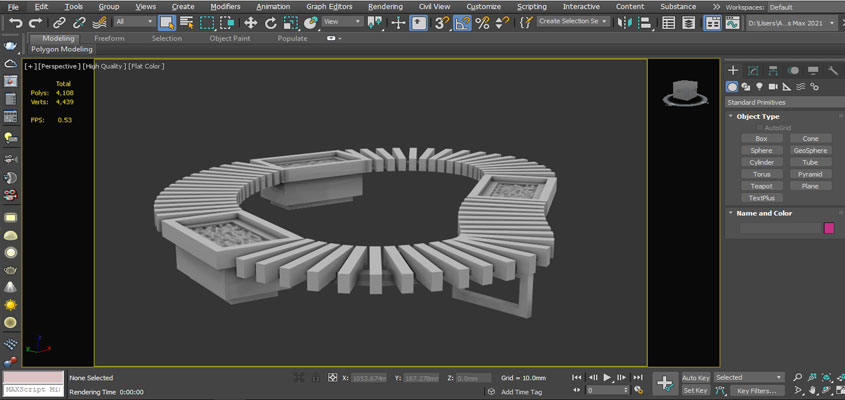
Also known as depth buffering, the algorithm reverses the previous value in case of a new pixel that is closer to the camera/observation point. Z-buffer is used to store the depth, or Z-value of each screen pixel.
Pros:
- Simple to use software
- Enhanced realism
- Efficient image processing
- Accurate object detection
- Quick execution
Cons:
- Uses a lot of storage space
Related: What is 3D Rendering? 6 Must-Know Basics About 3D Rendering
Effective 3D Modeling Tips and Tricks to Streamline the Process
Modern rendering techniques come to the rescue for achieving a practical ratio of rendering vs time. Let’s check the most effective 3D modeling tips and tricks that will make the entire process more smooth.
-
Technical tips on how to 3D render a photo in more effective ways
Below are specific technical tips to use during the challenging steps of 3D rendering.
Tip 1. Use fresnel shaders
Applying complex shadings will help you achieve more accurate results. Complex shading effects will be more lifelike when you use fresnel to converge rays at a given angle (incidence angle). A fresnel shader specifies colors facing and perpendicular to the camera.
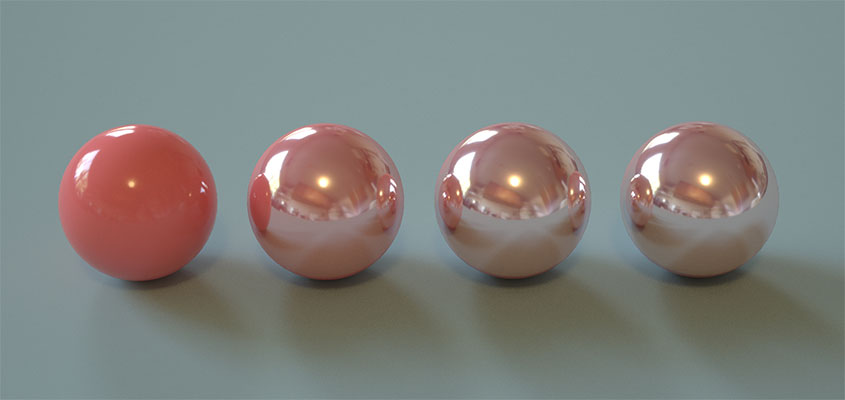
Tip 2. Pick out High Dynamic Range Imaging (HDRI)
The HDRI system will accentuate the shape of an image. Using HDRI will add vivid lighting to your scene and interesting features will appear in reflections.
By adjusting the contrast, it will be possible to show reflections or reflective properties on almost any kind of material.
Tip 3. Be attentive to resolution and sharpness
High resolution doesn’t always equal good quality. Sometimes, the scene can get blurry exactly because of using higher resolutions with the wrong object or image size.
The overall size of the 3D rendered photo depends on the pixel count and pixel density that you choose. Reaching an adequate balance between the resolution and sharpness is required to avoid low-quality images.
Tip 4. Use additional lighting
Add additional lighting if your HDRI is not high enough. That way, you’ll emphasize the shape of the material, making it look more eye-popping.
- Apply physical lights in the software
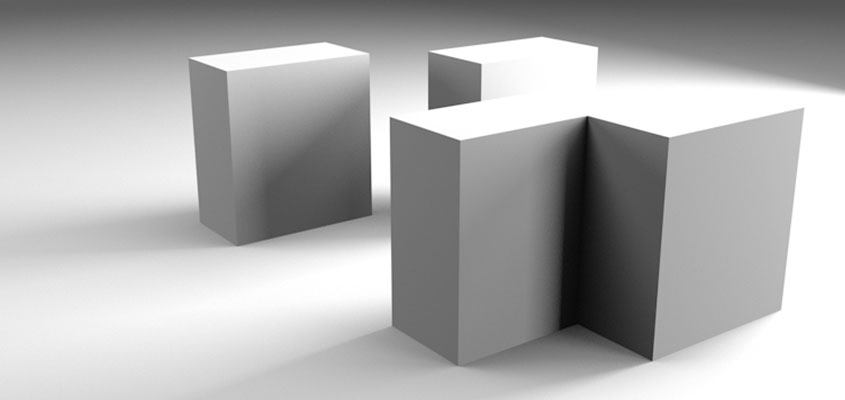
Designers are able to produce more life-like images with lighting tools that are available in rendering programs. These options make it possible to control shadows and scale lights.
Depending on the angle and brightness of the lights cast, shadows will appear and accentuate the product to give it a more realistic appearance.
- Cast global illumination
Global or indirect illumination is a technique used for creating realism. It’s a system of algorithms that model how light from objects bounces off and illuminates neighboring surfaces.
- Consider caustics
Use caustics for unsurpassed realism. Caustics depict patterns of light and color on a given surface when rays of light play off objects in the environment. By manipulating photons, like concentrating them with a lens or bouncing them off mirrors, designers can depict how light moves through a scene.
Tip 5. Create scenes with creative techniques
You can apply creative techniques to achieve more realistic results. For example, tilt your camera to add a sense of movement and action. Place your product in an interesting environment with varying depths and a pleasant color range.
Break up the entire process in sequential planes to lead your viewer’s eyes to the focal points of your choice.
Tip 6. Bevel the edges of your product
Beveling is the act of polishing a square edge to a sloping one. Bevel your product edges in the modeling stage to add a rustic touch. Bear in mind that even the sharpest edges in reality are not perfectly sharp.
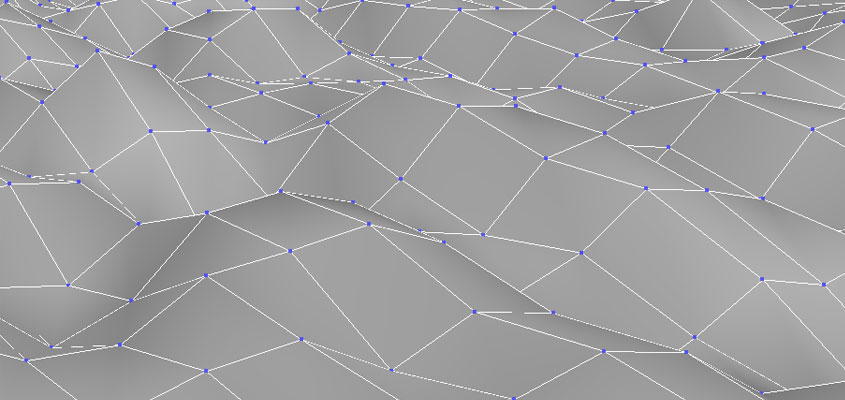
Adding a subtle beveling will create a more lifelike reflection, especially in view of refractive elements such as a light diffuser.
-
Non-technical tips for how to render a photo effectively
Below are more general rules for realistic rendering.
Tip 7. Brood over your ideas
If you want to know where to start out the process of how to create renderings, grab a pencil. Sketching the ideas is the first important phase of how to 3D render a product.

Your pencil can be digital, of course. There are several advanced tools that will help you draw concept ideas in their primary stage. In this way, you’ll save time and provide a quick visual reference to your customers with the possibility of further modification if needed.
Bank signs represent a good example of how a well-planned scheme can yield extraordinary results and create a wow-factor in otherwise mundane places.
Want outstanding renderings of your signage idea? Contact our experts now!
Tip 8. Put effort into the pre-production stage
Spending more time in the preparation phase will help you immensely with the production. This is one of the most important 3D rendering tips that will optimize not only your budget but also your further endeavors. Every detail should be considered with the aim to create high-level, realistic images.
Tip 9. Make use of the latest software
If you want to know how to create renderings then you must be willing to learn the use of the latest rendering technology. At the top of the list are 3ds Max, Keyshot, Lumion, Maya, Atlantis, SketchUp, Rhino, Blender and others.
Sometimes, 3D modeling good practices can only be achieved by using hybrid platforms that are compatible with each other. To learn how to render a photo of any given product like a pro, you should be versed in at least two and be extremely critical in considering the right combination of techniques.
Tip 10. Create your collection
Creating a large library of high-quality textures is another way to help the operation run smoothly. It’ll help you organize your work more efficiently so you won’t have to waste your time on adding effects to boost image quality.
Lastly, applying drag and drop images will make the process simpler and save you energy. A good collection prepared in advance will quell the fear of poor turnouts.
Tip 11. Choose simplicity
If your project is overly complex, more time will be needed to produce it. This doesn’t mean you can cut corners when it comes to texture, lighting or other important factors required for a quality rendering.
Nevertheless, simplicity is often refinement when it comes to decor elements such as interior signs. Don’t underestimate it and integrate it into your designs wisely.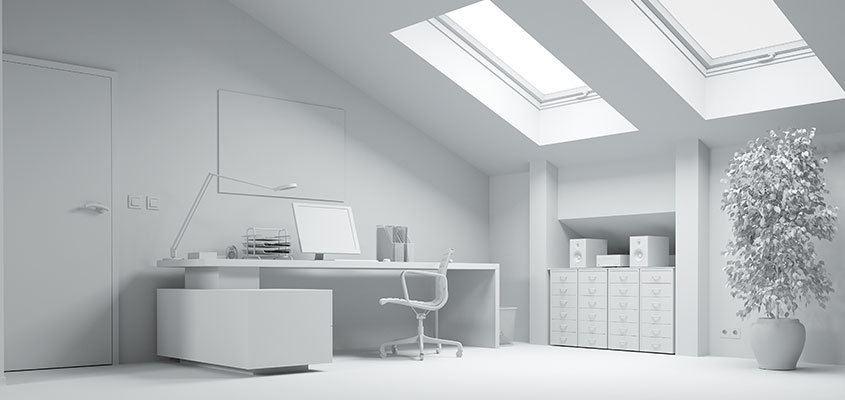
Related: Comprehensive List of Signage Design Ideas to Boost Your Business
Bonus Section on How to Render Product Design to Get More Realistic Visuals
With the help of the CGI (computer-generated imagery), graphic designers manage to create real-world rendering concepts and animations that stand out from the competition.
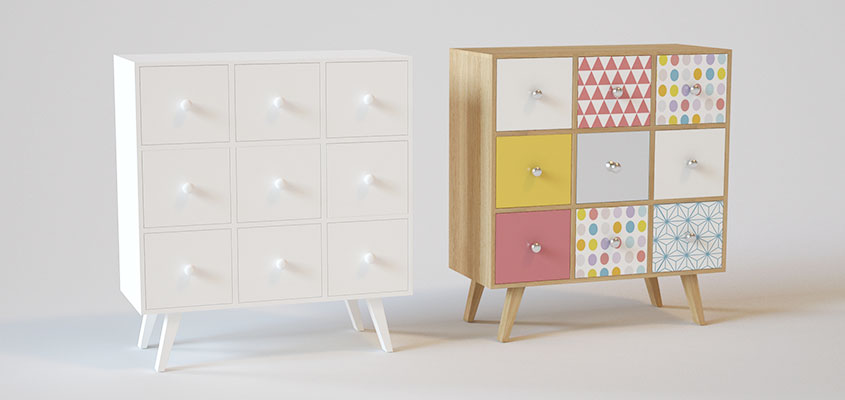
Keep reading for bonus tips on how to render product design.
Tip 12. Count on geometry
The role of geometry-based rendering is important since you’re free to decide how many details you want to add based on the characteristics of each model. It’s important to note that the more details are included, the more realistic the rendering will look.
- Scale
Calculate your scales according to life-like measurements. This will ensure an exact match with real textures, lighting and depth.
- Lines
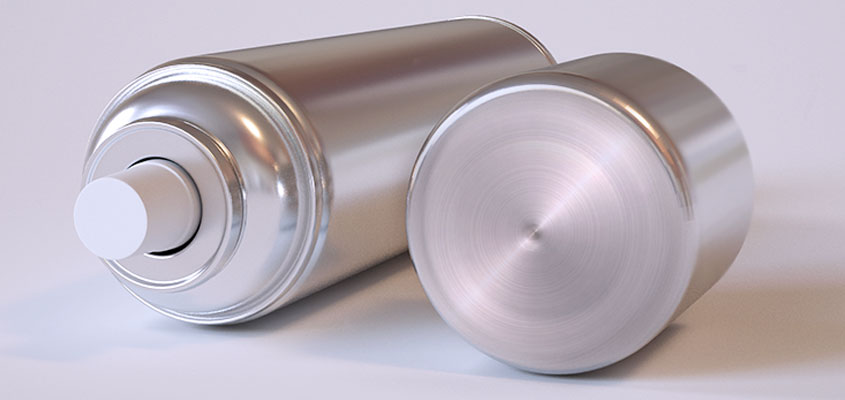
It’s impossible to avoid component lines after a product cools after being removed from a mold. For this reason, mold lines are applied in rendering to get a look that will accurately represent the product at the fabrication stage. Afterwards, it will require additional efforts to remove unwelcome lines and enhance the quality of the final model.

- Sink Marks
Marks appear on thicker areas after the plastic is removed from a mold. These marks are called ‘sink’ marks that emerge due to a slower rate of cooling. Applying this trick to your rendered image adds an extra dimension to your final product.
Need professional advice about 3D signage rendering? Contact us!
Tip 13. Understand the material
The material adds significant value to your rendering. If you understand its basic properties like lighting, bumps, texture and color, you’ll know how to make photorealistic 3D models like a top-tier professional.
- Roughness
It’s nearly impossible to avoid microscopic imperfections and these will have an effect on how light will scatter across a surface. Do the best you can but keep in mind that there is no perfectly smooth surface in nature. Increasing roughness will give your material a more matte look whereas decreasing it will result in a more glossy one.
- Bump Textures
Bumpy textures highlight shadows to create an impression of physical relief. The subtleness or roughness is up to you depending on what kind of depth you’re trying to achieve.
- Displacement Textures
All the techniques, including displacement textures, are aimed to create a more realistic feel for your 3D signage. Use displacement textures to push and pull the surface of the model. This will help you to shape the product and create silhouettes in a manner more true-to-life.
Tip 14. Rely on camera
Many rendering engines include a camera control to shape visual properties more accurately within the virtual environment. Designers can select from a range of camera models and lenses according to software features so prior knowledge of photography is recommended.
- Focal length
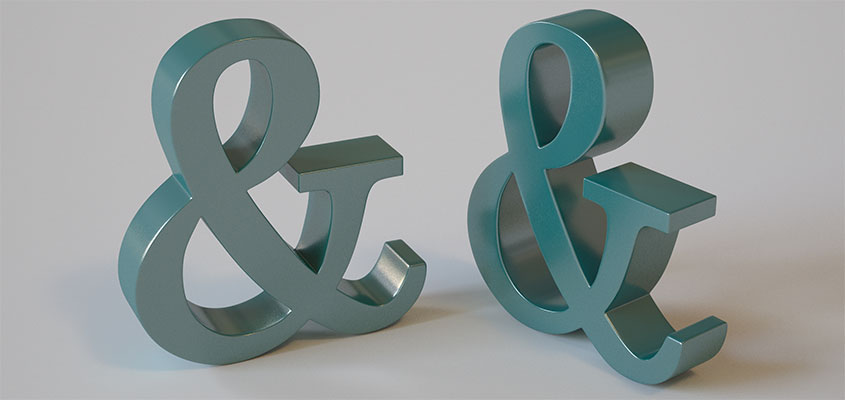
The focal point and focal length of the camera lens are selected with consideration to the purpose of the rendering. Longer lenses minimize distortion of an image, whereas wider lenses offer a wide angle view but create a fish-eye effect which is not ideal for product photography.
- Camera distance
Limitations of the real world don’t apply to the rendering world. For example, you don’t even need to stand away from the object while directing your lens towards it to get a perfect view.
But for the sake of realism, it’s best to keep proportional relations between units of measure like the camera distance, depth of field and focal length to achieve lifelike results.
- Depth of Field
Special features of the product should be highlighted to create a 3D look. Choosing a focal point will make the rest of the object and its surroundings appear more blurry.
This helps to guide the viewer’s eyes towards the main focus and away from distracting and unwanted features in the background. The depth of field should feel natural to avoid an unrealistic appearance and viewer response.
That’s it! We’ve covered a lot and are confident that you’ve gained insight into the basic tips and tricks of 3D rendering, along with the most common techniques used to achieve stunning results.
To get a beautifully rendered sign design, contact us now!
